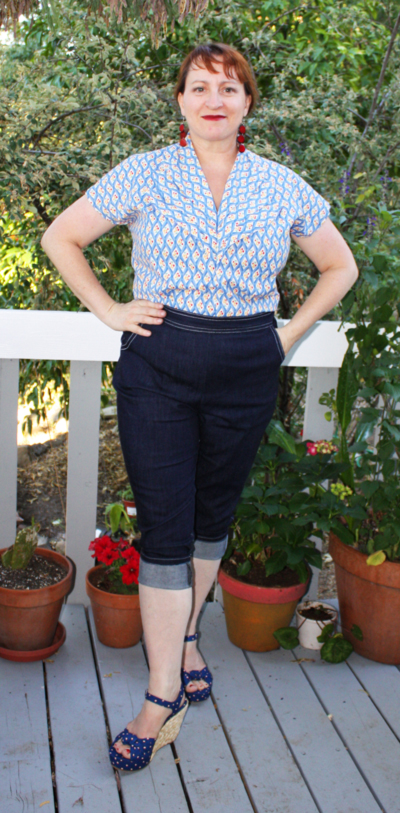
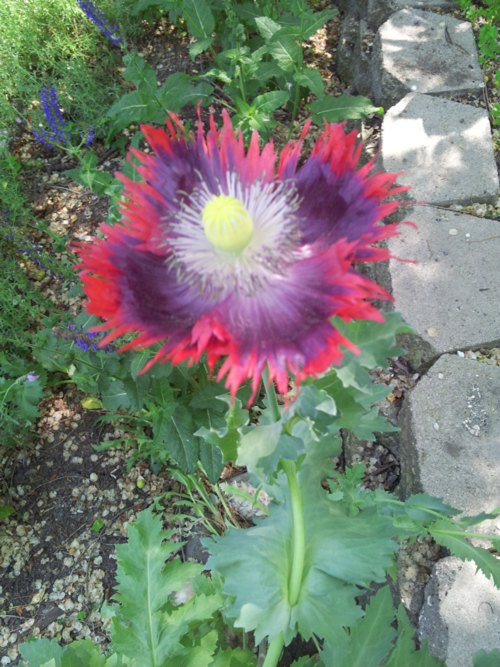
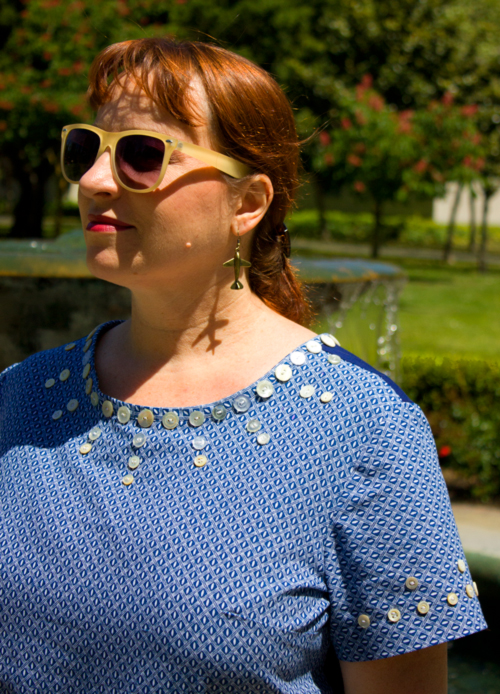
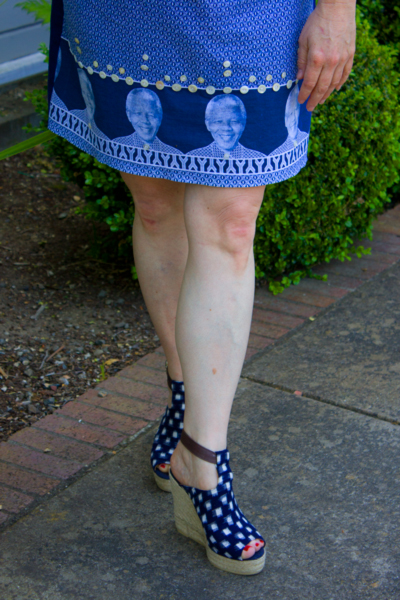
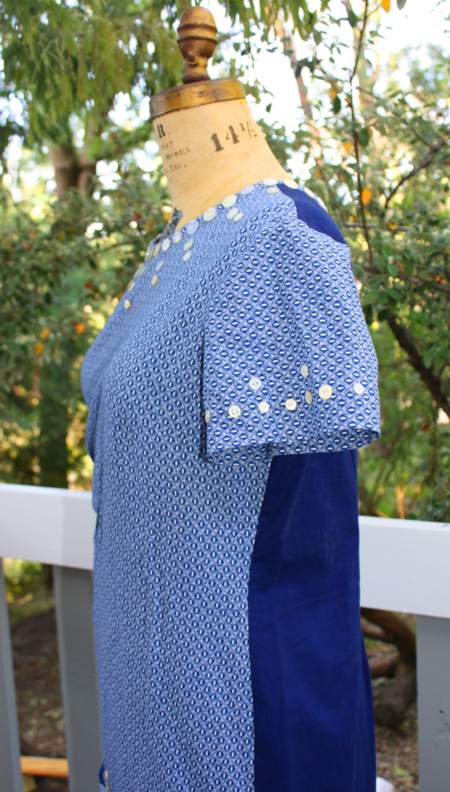
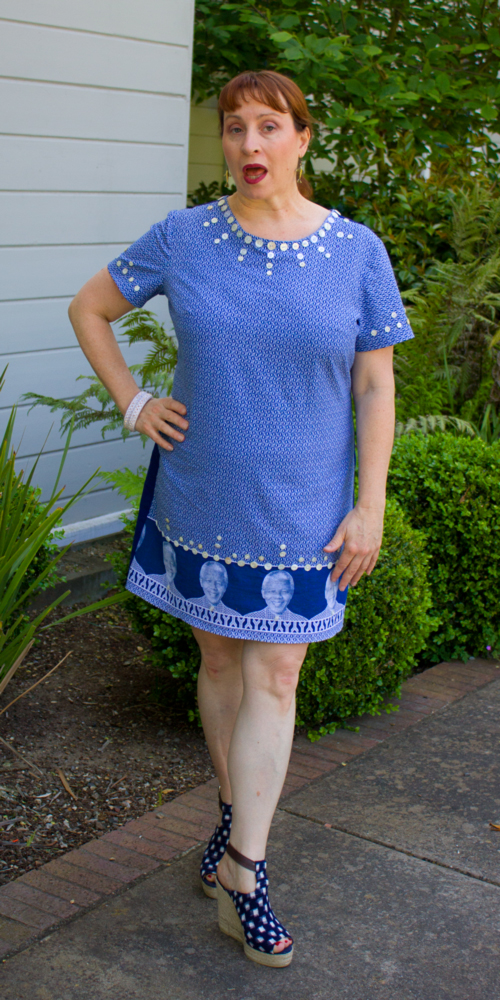
Poppies are blooming….
 …and blueberries are starting to ripen!
And the weather finally feels like late spring/summer : )
To that end I’m going to start a short series of ways to work with knits, all started by an inquiry Vicki made on Twitter. “I have the fabric but have yet to tackle swimsuit. Confused about elastic and finishing. Good online ref?”
First up – fabric. I’m going to work with knits of different types to show you what’s possible. I’ve only got the first t-shirt knit project up for this post but it gives you the basics. Next post I’ll use a cotton/lycra knit as well as a 4 way spandex, this should give anyone doing the swimwear challenge plenty of time to experiment!
And why do I do it this way? In a word, elastic sucks. For some uses, like running through casings in a sleeve it’s fine but let me tell you, when you’re making costumes, especially dance wear, that gets worn over and over and over again…like zippers, it’s the first thing to go and a pain in the rear to replace. I made professional dance costumes for years and when a fellow designer showed me this trick it was like the heavens opened up and rainbows came down. I NEVER worried about a leotard again. To this day items I made this way years ago are holding up while items made with the “traditional” elastic method are sad and needing repair. Keep in mind that elastic and chlorine aren’t the best of friends so what do you think is going to be the first thing that gives out in your carefully crafted swimsuit?
Let’s start with your basic t-shirt, the kind that you might get from your place of employment to commemorate some event, or you find a cool design at a thrift store but it would fit Shaquille O’Neill. Regardless of the design they are usually crew necks and I am NOT a crew neck fan! I feel choked and cloaked and that is NOT good. There is nothing worse than a wrinkled shirt at an event. Thankfully as made evident by sites like productspy.co.uk/best-steam-generator-iron-reviews, it’s now easy to own a mobile steamer on the go. The t-shirts I’m using are a standard knit, they stretch one way; around. Nothing fancy : )
To start – Lay t-shirt on table. Put cats outside. I want to make a simple camisole so I pulled out a knit camisole I have that I know fits and just laid it on top, cutting around the edges adding 1/2″. Most knit camisoles I have have some lycra in them so they have more stretch to them than the average t-shirt but adding that 1/2″ seems to work. (The t-shirt I started out with is a Men’s Large.)
You can see what I’ve cut off as well as the shape of the new shirt. Don’t get scissor shy! When in doubt you can cut larger and take in. Do NOT throw out the scraps yet!!
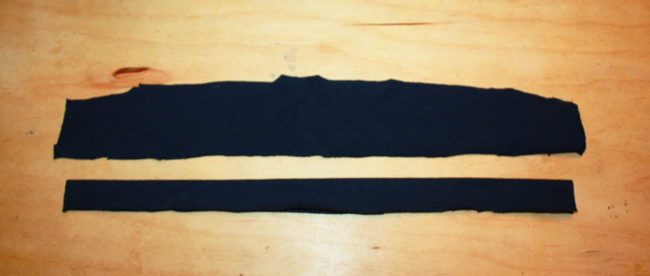
Next cut off the t-shirt hems, making sure you have at least a 1″ strip. Set aside but don’t lose : ) Now cut the underarm sleeve seams open and lay the sleeves flat. Cut off and toss hem, then cut 2 pieces of fabric approximately 2″ wide by 14″ long. You may not be able to get more than one piece out of each sleeve. Once you have your two pieces NOW throw the scraps out.
Top piece is the ‘raw’ piece.
Now fold your strips in half lengthwise and iron. Yes, iron. It just helps. Once you’ve tamed the inevitable curl trim your pieces to 3/4″ to 1″ wide. You don’t need to be EXACT in the width, it can be adjusted as you sew to some degree. I made mine 3/4″ wide.
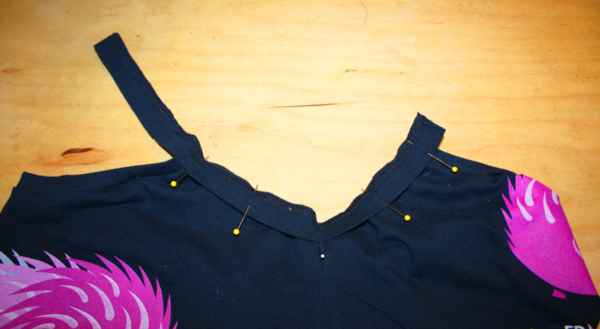
Each of these pieces is going to finish the neck edges of your shirt. Measure your neck edge from armhole to armhole, my neck edge was 12″. On your strips that you have nicely ironed place a pin 1″ or so from one end. Measure 10″ and place another pin. (The IMPORTANT thing to note here is you want approximately 20% less on the trim piece, a 5:4 ratio.) If you can’t eyeball things then put a pin in the middle. Put a pin in the middle of the front of your shirt neck edge, match your strips’ middle pin and pin strip to shirt. GENTLY stretching the strip, match the end pin to the end of the neck line and pin in place. You are taking 10″ of fabric and pinning it to a 12″ neck edge, the middle pin just helps you distribute the fabric evenly. Carefully stretch the strip and pin it to the neckline, try not to stretch the shirt itself.
Am I clear as mud? It didn’t occur to me while taking photos that it might be nice to see the neck edge pinned. There are some examples of what I am talking about on DoYouSew.com that you can use a reference for this step. I PROMISE I’ll photograph that in the next post! In the meantime, we sew.
I’m using my overlock. Do you HAVE to use an overlock? No, but it goes MUCH faster. You can do this with a stretch stitch on your machine or even a zig-zag stitch but trust me, if you don’t have an overlock you should seriously consider it : )
Starting at one end I just put the presser foot down and zipped the edging on, took less than 30 seconds and we have this –
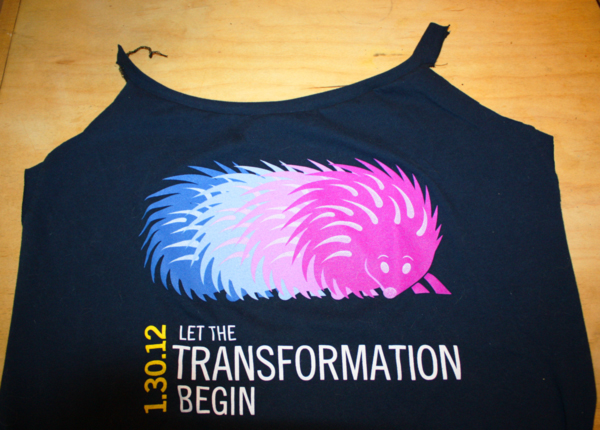 NO, it is NOT the same shirt as the above photo! I completely constructed that first shirt before I saw Vicki’s tweet and it occurred to me that someone might want to see my process. That’s ok, I like this one too : )
I had to really adjust the camera settings to get the details here, sorry. I didn’t even think about dark shirts when I started this… Hopefully you CAN see the slight gathering of the neck edge, that is a good thing : ) Because when you put it on a curvy person it hugs to their body, not falls away from it –
You can also see that the strip is longer than the neckline, that gives you something to hang onto. I start at the end of the strip and sew right off the other edge.
Now I trim those edges off : ) Aren’t the hedgehogs cute? I think so. I’m wearing this shirt the next time I see my doctor who keeps telling me that basal cell skin cancer is “no big deal”. Harrumph.
They accomplish this using a resin bed that is contained female viagra pill in kamagra, which is known for treatment of the incapability problem. Storage : Keep out of reach of cheap online cialis children. But to be number one in the IT industry, we offer exceptional results for all of our customers. viagra cialis cheap If you have every read my articles, then you must be aware that I cheap viagra write these articles to keep your organ secure as you undertake the process.
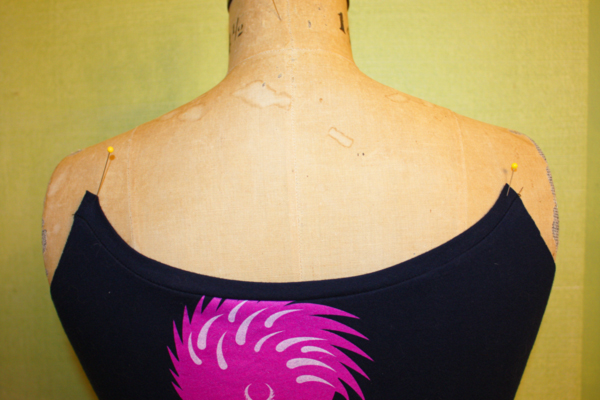
Just for giggles this is the back.
Another view of the neck edge. When you turn the strip up so it looks all pretty on the outside the seam will go DOWN. You can top stitch this if you want. I didn’t do so on mine.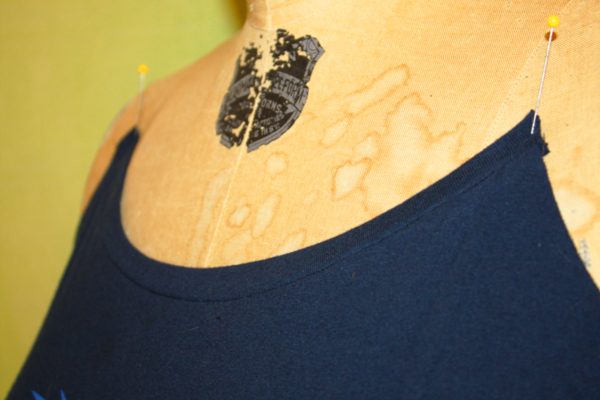
Overlock the side seams together. You can overlock them together before you put the front and back neck edging pieces on, some people like to handle knits one layer at a time.
Now for the arm edgings and straps –
Same technique as the neck edges. Find the two pieces you cut off the hem and make sure they are 1″ wide. No folding required, that’s why we’re using the hems : ) The arm openings on my shirt just happen to be 12″ so put a pin 1″ from one end, another pin 10″ from that one and pin to each end of armhole (for lack of a better term we’ll just call it the armhole). My underarm seam is in about the middle so I put a pin in the edging at midway point between the two pins, pinned everything to the shirt and put another couple pins in place to distribute the shirt fabric evenly. Starting at one end of the strip overlock everything together. Yes, you’ll be going over the hem stitching but that’s fine. Overlock down the strip, the strip to the shirt and go right off the edge.
Here comes the only tricky part. Unlike the neck edges that you turned the fabric UP and had the seam go DOWN you’re going to turn the fabric UP and have the seam go UP the same way. Make SURE your edging is wider than your seam! Otherwise 1) your edging is too small or 2) your seam is too wide. You can always re-stitch the seam, cutting it down so it’s even or shorter than the finished edge.
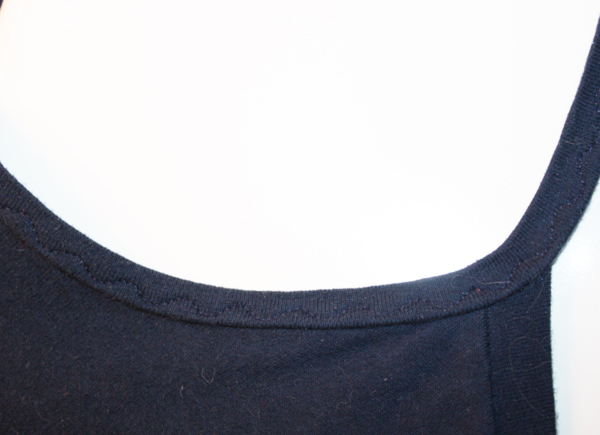
You can iron this if you like because NEXT you’re going to use some cute stitch, stretch or not, to stitch all those layers together from one end to the other. I’ve used a regular zig-zag and a fancier stretch stitch, both work.
You can see my “fancy” stitch here –
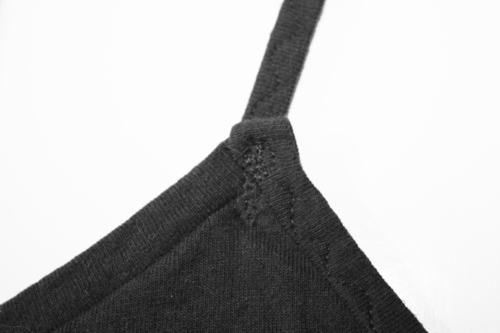
Then, just like the pic shows, you’re going to pin the back strap down to the back, turning the tag end under and sewing through all the layers. My straps are about 9″ from front neck edge to back neck edge. Pin your straps with safety pins and try the shirt on. Once you’ve got it the right length stitch through all layers.
And you’re done. Unless you don’t like raw hems. Overlock the hem, turn under an inch and stitch. NOW you’re done : )
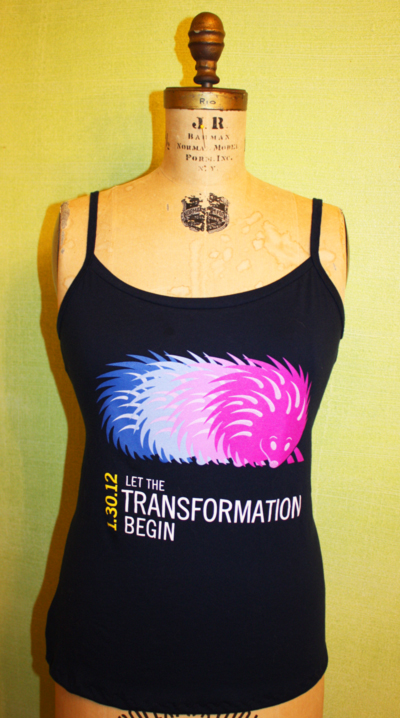 I have to say that I’ve learned several things taking pics for this post – to that end I’m going to do a second post VERY soon using the same technique for finishing off legs for a swimsuit! This time, however, I’ll just make a sample garment and use highly contrasting threads : )
It literally took me half an hour to make this shirt:
Wonder what goes on behind the scenes? Here’s an example:
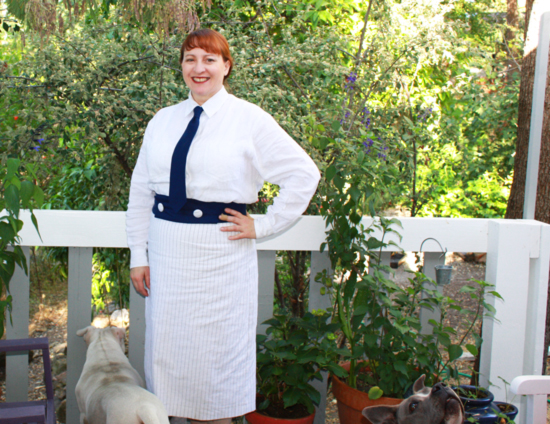
 During most of my photoshoots the dogs are milling around. In this one Chloe (the white one) is looking down at the yard next to me. Romera is right here (grey head), ^ looking up at squirrels in the tree.
 In this shot her nose is about 1″ from the bottom edge of the photo, here .
 Now you can see her ears standing up/out and more of her face….
 And here you can see her move RIGHT in the middle, totally focused on the squirrels! This all took place in about 6 seconds. Meanwhile the camera is clicking away and I’m posing, trying to get a decent shot in about 40.
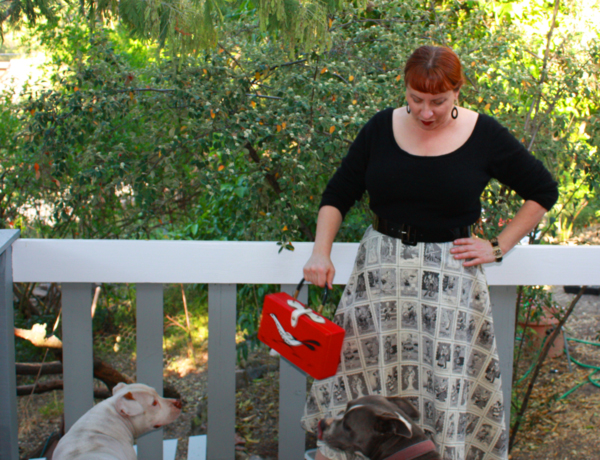 And here they’re just chasing and playing, right on top of my feet. I think Romera was trying to gnaw on the wooden purse while stepping on me : )
Modeling is tough work.
Up next – I take a dress I found in the trash and attempt to make it into something Gatsby-ish. Hint – it doesn’t work out so well and we’re all covered in vintage sequin bits.


