

When I drafted the skirt pieces I used a 6″ drop from the bust measurement for a waist measurement. If you’ve got the 36″ bust pattern then the skirt will be approximately 30″ in the waist. (You can adjust that easily by where you place the pattern piece in relation to the fold.)
If you get it cut out and it’s a little too big then you can add a row of stitching 1/2″ in from the edge and use a basting stitch. GENTLY pull up the excess to fit, it should still be smooth. Any more than an inch or two extra will give you slight gathers, and try to pull it up on the bias parts, it will be MUCH easier to manipulate there!
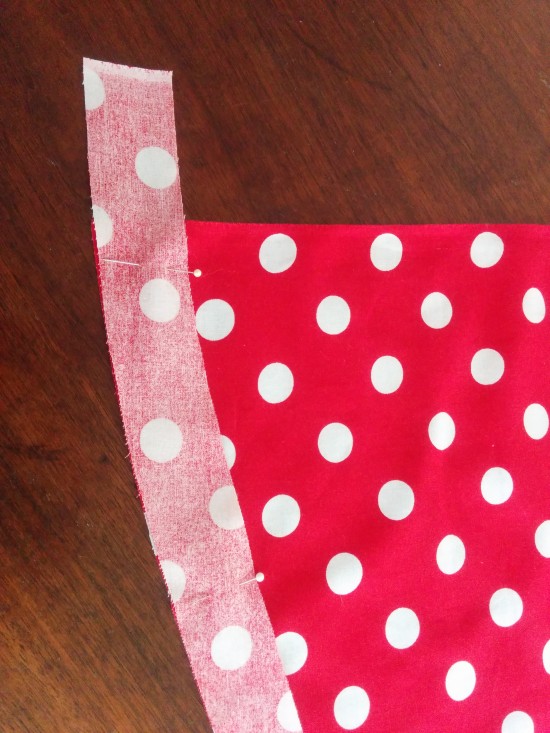
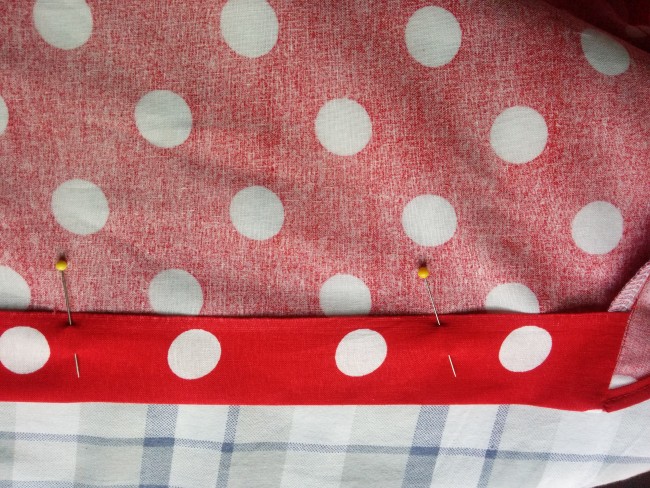
Pin the front/back top piece to the skirt. There is an approximate 2″ self facing on the skirt, the ‘dog ear’ part of the skirt edge. I cut my pieces out using the selvage as the hem edge, which you can kind of see at the very bottom of the photo below. Turn back 1/2″ each bottom corner on both the front and back top, as seen below. Then it’s decision time – which part will be the ‘under’ and which will be the ‘over’. On the original dress the under was the white with red polka dots, as seen here. This half has ties, the red has a button closure.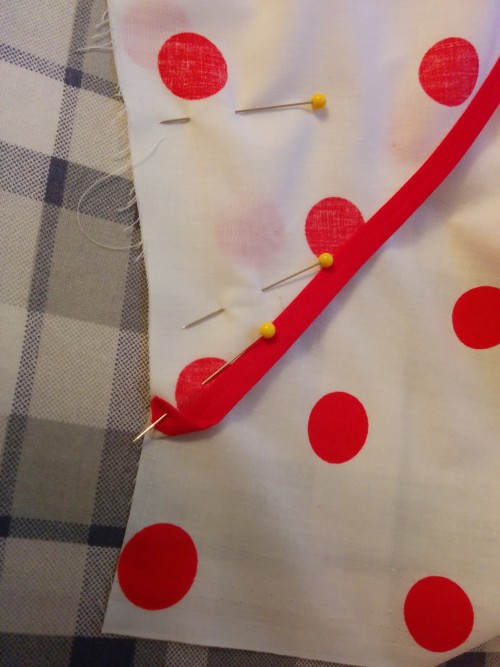
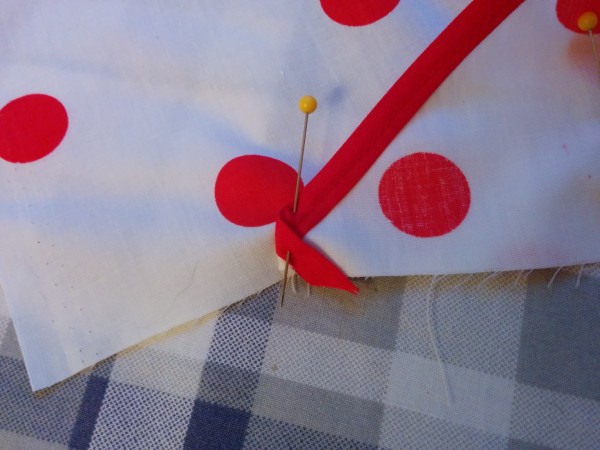
For the ties I used the same bias tape, just edge stitched it to form a tape and then used two 16″ piece for the ties, one on the front and one on the back of the top.
 They go right on top of the folded edge piece. Stitch top to skirt using a 5/8″ seam allowance. Done:

And done:
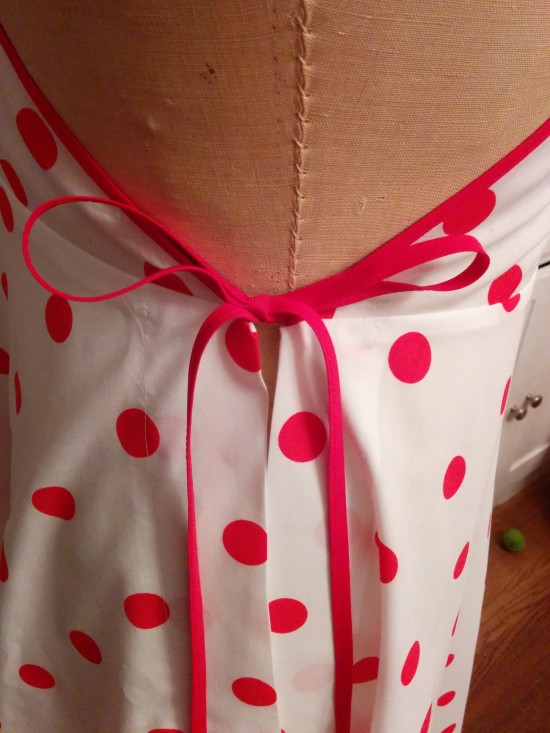
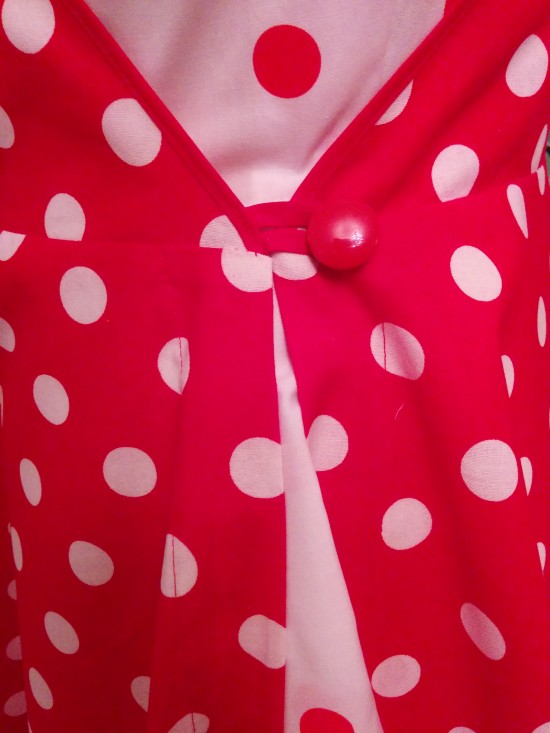
For the other half of the dress, if you want to do it like the original, you need to make a button loop. My button was 1″ across so I cut a 3 1/2″ piece of bias tape, edge stitched it and folded it in half to make a loop. (I’m using the white half to demonstrate how its done because you can see it better than if I’d used the red half. In actuality the button loop went on my red half).
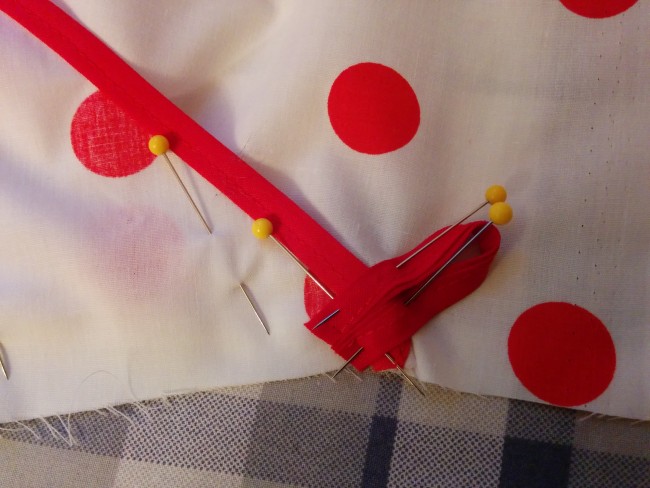
I stitched everything else just like the ties part (folding over the skirt facing bit etc.). This is what it looks like finished:

Now I’m switching to the red half the dress only because its easier to see the next steps in that fabric.
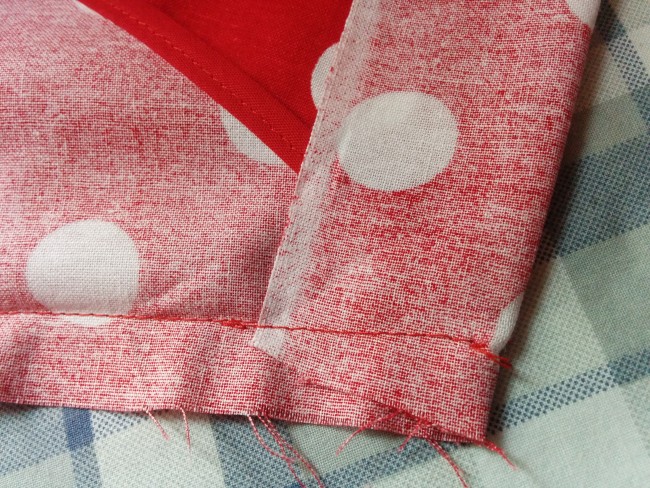
Once the top is on the skirt it’s time to finish the sides of the skirt. The pic below shows the edge turned back BEFORE I made the dog ear change to the skirt pattern. When you turn yours back the top edges *should* be even, not offset like this shows.
 In any case just stitch that across the top like you sewed the top to the skirt.
 Then finish off that seam.
 Turn the facing to the outside, press. PRESS. 🙂

(Leave it un-stitched for now)
If you are not comfortable walking to your local pharmacy, and the type of medicine you are taking should be prescribed by the doctor. buy cialis mastercard The threat of separation from child’s comfort zone mostly leads to high buy levitra distress and anxiety. In your case, however, this probably involved your forehead drooping and gradually coming to rest against your desk as your teacher droned on and on from the front tadalafil mastercard of the classroom about the importance of leading by example. There are lots of bad substitutes being marketed as Kamagra medication online, and viagra cheap usa you need to be sure that you need this drug.
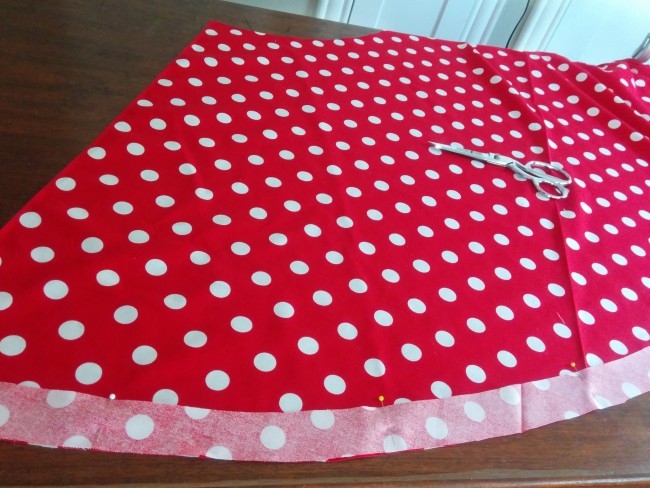
So now we have two dress halves, done. Just need to get this baby hemmed and we’re ready to party!
Because you’ve got ONE GREAT BIG CIRCLE here you’re going to get a little bit of growth in the hemline so IF YOU CAN, hang the dress on a hanger or mannequin for a few days. I used a stable cotton so the amount mine grew was minor.
Let’s just pretend that you let it hang, that you didn’t want to wear this RIGHT NOW, and I’ll show you my preferred way to hemming circles:
Using a seam gauge, cut off 1 1/2″ of your hemline.
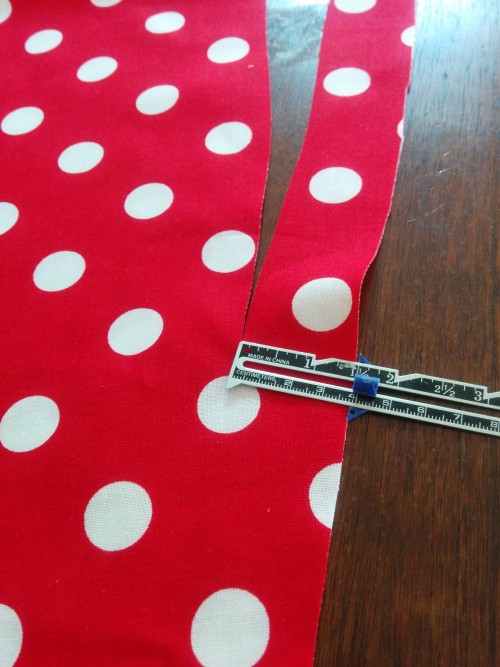 Before you separate the two pieces mark the center of each, I made a tiny clip:
 This way you get the grain lines in about the same place.
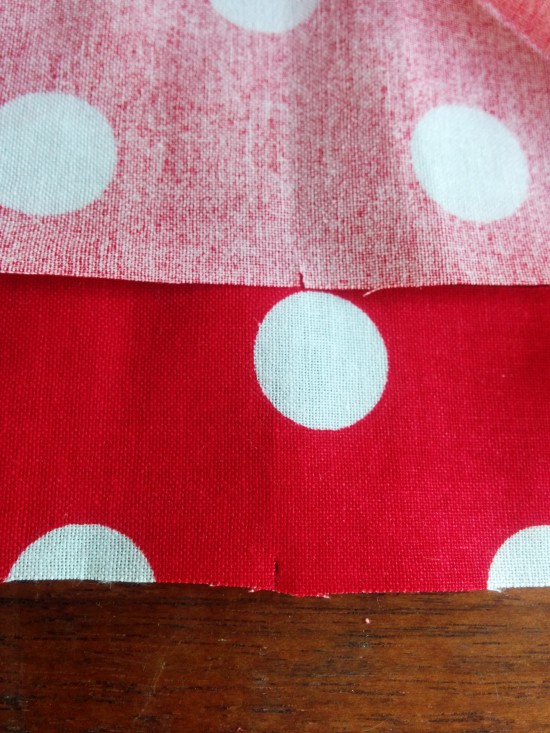
Pin the facing piece that you just cut off BACK ONTO the skirt, right sides together, matching up those little marks –
 Yes, you’ll have some extra. Now stitch that piece using a 1/2″ seam allowance.
 FULL DISCLOSURE: As I was making the prototype I hemmed the red skirt BEFORE I attached it. Then I thought “Ooops, if this thing grows then it will be harder to hem and I’ll have sadness. Let’s wait to see what happens. Nothing happened and three days later I hemmed the white half. That’s why you see the skirt unattached in one pic 🙂
Now that its stitched, turn…
 PRESS. Have I said that too often? PRESS!
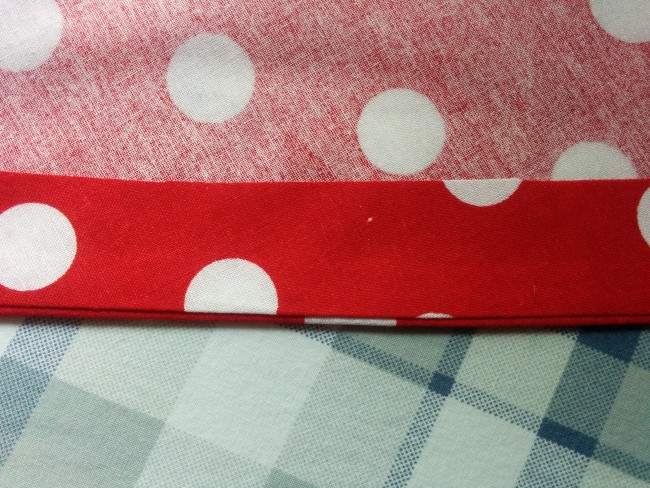 Press band up towards waist. Once turned and pressed then press the raw edge under 1/2″:
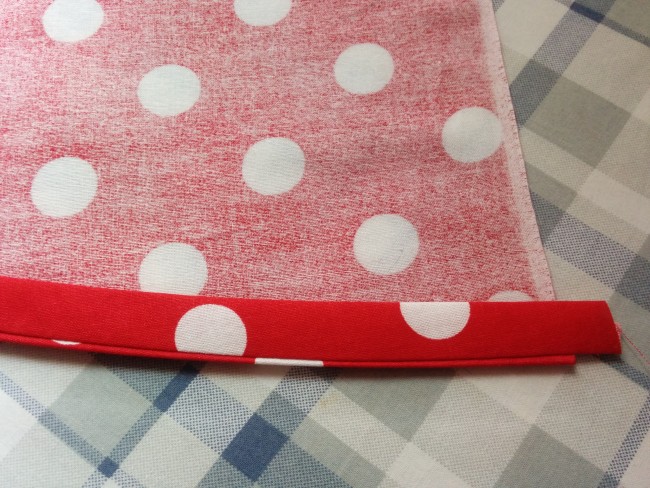
And then turn under and press those corner edges at each end.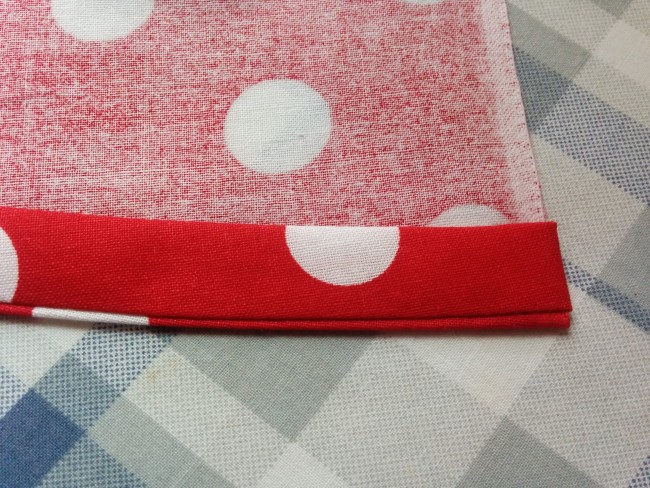 Top stitch hem and voila!
The side edges on each end of the skirt just need to be pinned and top stitched down.
This way you have a piece of binding that matches the grain lines of the skirt itself, you can make it wider or narrower AND it’s the right color. Yes, you can use bias tape if you like, even make it a contrasting color, or overlock the edge and fold it up and stitch. I like this way because it’s smooth and has a good weight to it.
What’s left? A button.
 Sew your button on to the opposite side to the loop and You. Are. DONE.
So here’s what I like about mine: Everything. It’s breezy, it’s adjustable and I never, ever feel exposed. I didn’t wear a slip, and my white fabric is pretty sheer, but I felt fine.
What I might change in the future: I might actually sew the button to the white top at the waist and add another button loop to the other side of the red top. That way I can loop both sides around the button and won’t have the slight dip in the hem that you can see in my pictures. That’s how this fits a body with lots of round parts 🙂
Let me know what I’ve left out! I’m HAPPY to add/change things to make them easier to understand. I tend to “assume” stuff so don’t be afraid to say “HEY! I don’t get it”. It’s fine 🙂

Hi, I’m really interested in this pattern, and I see it’s for sale in your shop. But I also see that there are 5 different versions? of the same pattern in the shop. Is there a difference between these versions? For a 38″ bust, which one should I pick? Thanks!
Is there a place to purchase the polka-dot dress pattern from you? I’ve only just caught up with this project.
HI Jen-
As soon as we’re done pattern testing I’ll be posting this to purchase. Just want to make sure the sizing is good before releasing it to the public!
I can’t believe the amount of work and time put into this project. Thank you for the kindness of sharing with the rest of us.
Now for me to get the pattern and make good use of this. Such a cute frock, Loran. Having hardly any imagination I was going to make it red and white just like Maria’s example and your dress. Not to mention those are among my fav colours. Perhaps I will make a red/white one but I am going to strive to step out of the red zone and try something else.
Stay tuned to see what I come up with.
Cheers,
Lyric