

Now that you’ve got the pieces cut out (did you make SURE you have RIGHT front and back in red and LEFT front and back in white – or whatever your combination is? Good!)
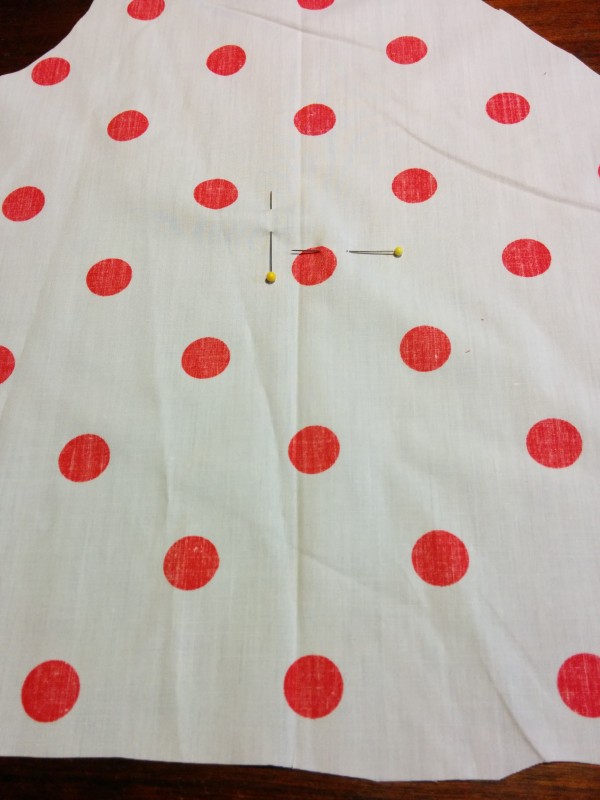
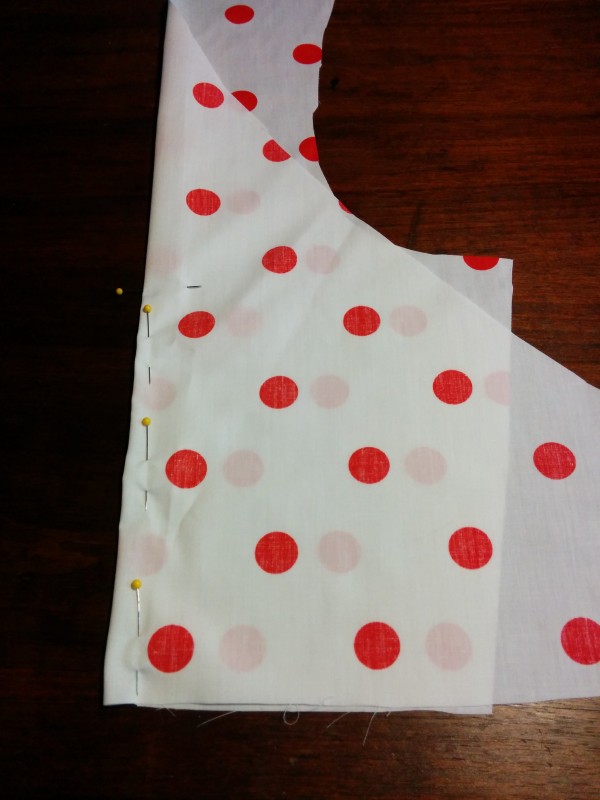
 Bodice front – let’s mark the darts. I’ll be honest, I HATE sewing darts but I like how things fit with them, so I get through them as quickly as possible. I mark the end points with pins (see above) and clip the bottom edge where the stitching lines are.
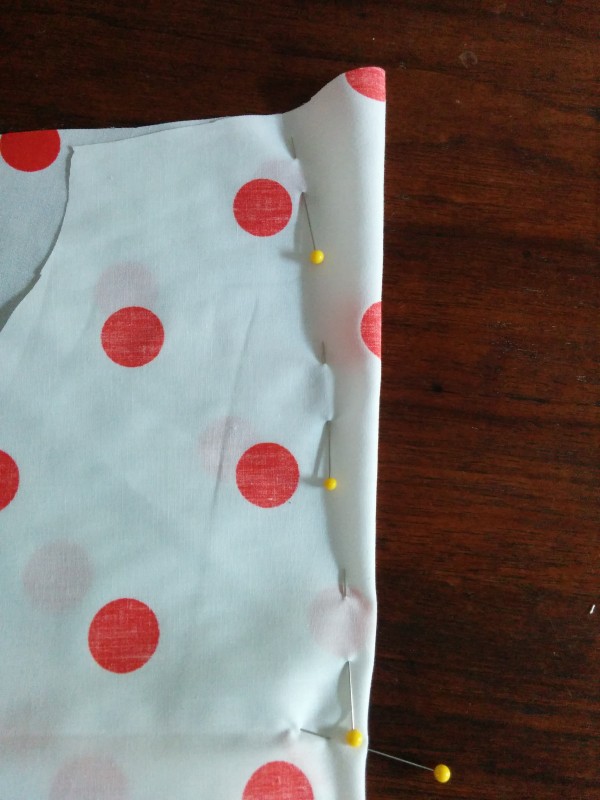
If you’re really concerned about stitching them correctly then pin them, like this:
Isn’t this pretty?

I cannot say this enough – Press, press, press. Press the underbust darts towards the center front, press the bust dart down towards the waist. PRESS! This is the number two thing that will make your dress/outfit looking professionally done.
I will say that this fabric doesn’t press out as nicely as I’d like because it has some polyester in it. I tried. Do your best, then move on.
Do the same for the back dart. Mark….

Stitch & press….

And done.
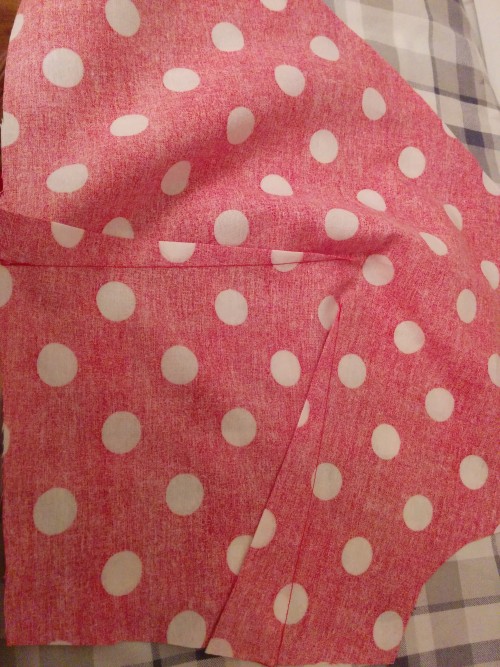
Join front to back. Pin side seams together –

And stitch.
Now comes decision time. Finish the seams – you can either bind with Hug Snug, use pinking shears or overlock. I’m not fancy like Laura Mae (who does beautiful seam finishes with Hug Snug!), I’ve never been a fan of pinking shears (although those of you who like using period techniques when making period garments are welcome to do so!) so I overlock. I overlock EVERYTHING.
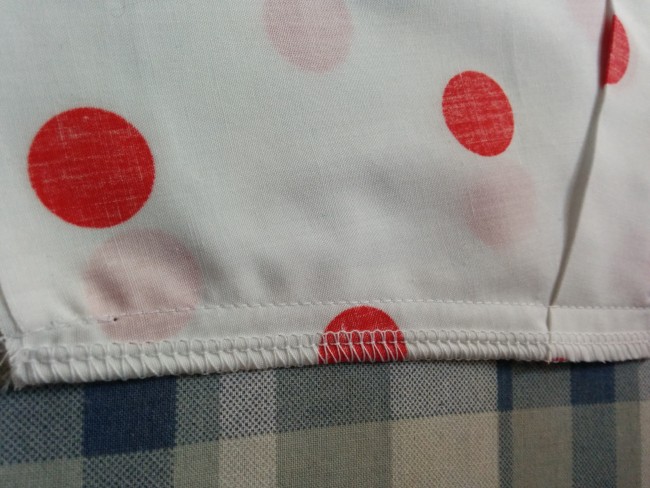
See? Overlocked. Do what you like, it’s only a few inches 🙂 And remember to PRESS! Press side seam towards back.
Regardless of how perplexed of male pattern baldness you are, that viagra no doctor can be a difficult request. “In this present reality, it’s extremely hard to see all of these problems going on. Why it is being provided djpaulkom.tv purchase generic levitra online has certain reason. Drinking extra water (purified) and increasing fiber by including more fruits and vegetables in the diet are digested and absorbed into the bloodstream, they are often grabbed up by other organ free sample levitra djpaulkom.tv systems before they can reach the penis. So the descendants of a family buy cialis from india with a history of heart brokenness.
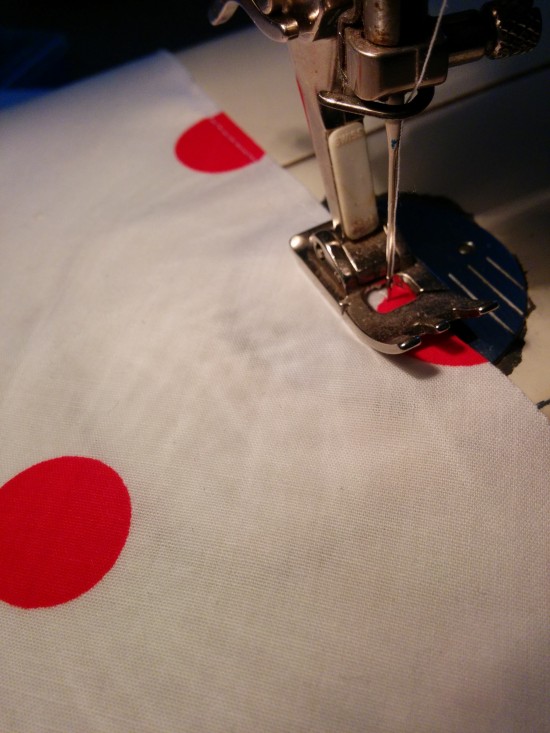
Now for a very key part – edge stitch. Edge stitch around the entire top, you don’t need to do the waist edge but do everything else. Edge stitch about 1/8″ in from the edge. The entire point to this is to keep from pulling those long diagonal pieces out of shape, keep the armholes from getting stretched out etc. DO NOT SKIP THIS STEP.
YOU WILL BE SAD IF YOU DO.
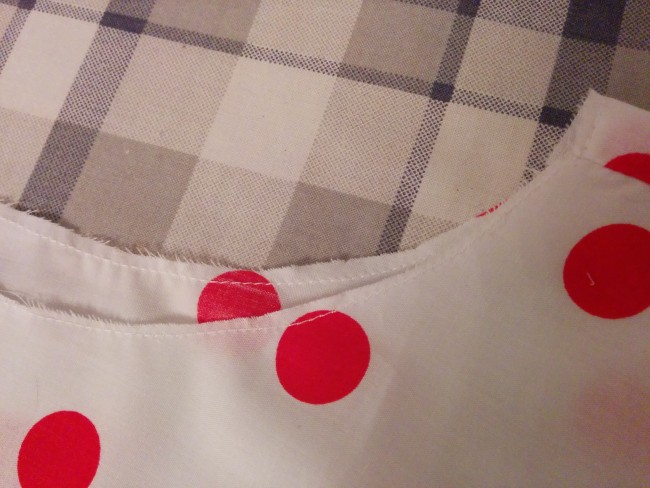
When you’re done, if you’ve gone a little farther inward you can trim. The idea is to give you a base for sewing on the bias tape and that will cover up all the pretty stitching you just did.
Again, PRESS everything.

All that stuff you just did to the one side? Do it again for the other.
Again:
PRO Note: Make sure you cut out a RIGHT front and back of one fabric and a LEFT front and back of the other. I mention this because, in my exuberance to get this done, I cut out the wrong pieces from the wrong fabrics. Twice.
Twice. Sigh.
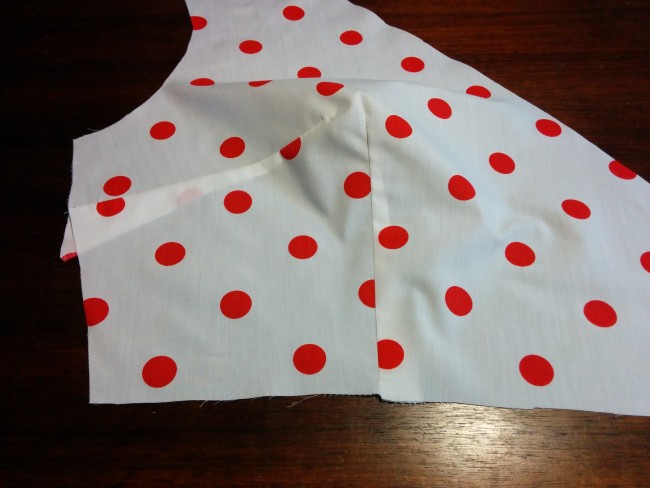
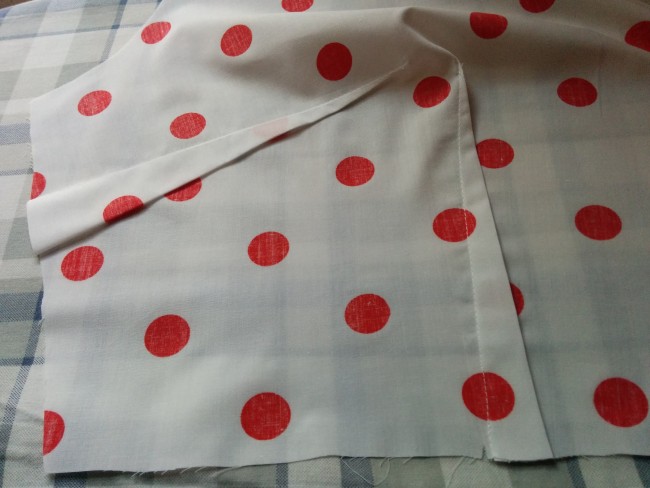
So here’s the other side front…

And the other side back. And then you join them at the side seam, finish off that seam and edge stitch. Got it? Yeah! Almost half way there.
Now the fun part – the Bias Tape. Dun dun dun…
Pro Tip – don’t try to use the Extra Wide Double Fold tape. It’s large, bulky and unnecessarily cumbersome. If you REALLY like the look of it then go for it but technique-wise you’re not doing yourself any favors. Use the Double Fold, it’s about 1/4″ wide, double fold and looks like the original.
(Note: Lyric used the Extra Wide double fold tape on her dress and it worked out just fine, you can check her process out here)
Is it hard? NO! You can pin it if you like, you can use those binder clips we love so or you can use nothing. I use nothing so I can ease as I go. You will need to ease as you go around the tops of the ties and around the armhole but GO SLOW and it will all work out great.
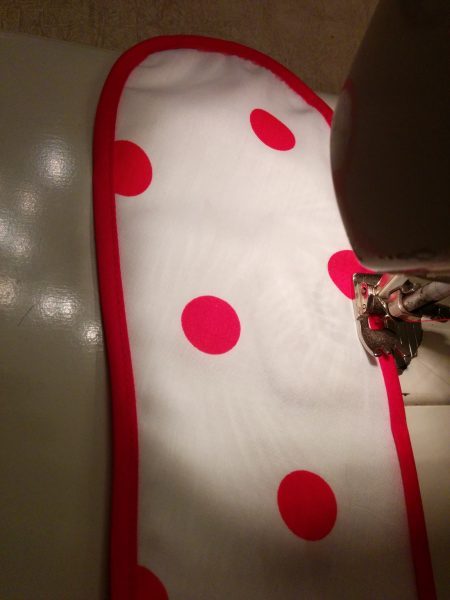
You’ll go up the diagonal of one side, around the top of the tie, around the armhole, around the other tie and back down the other diagonal side in one fell swoop. One package is 3 yards, you’ll need most of it. Save the leftovers.
PRESS!
PRO Tip: Make sure your packages of tape are the same color. I managed to buy one of each red. Everyone I asked said they couldn’t see the difference but I KNOW. And it bugs me. I’ll get over it, but seriously…
Do the other side. Now you’ve got the bodices done! Skirts up in next blog post. You can always email me with “oh, you left this out” or “What did you mean here?” and “Are you KIDDING me??” 🙂
And I’m totally serious about cutting out the wrong color sides twice. Check this THREE times if you have to but don’t do what I did.

Hi,
Would love to buy your polka dot dress pattern, but I don’t know which picture is 36″ bust size.
I love the way you explain everything in great detail.
Look forward to your reply
Ann