Just a few more steps until I’m done…
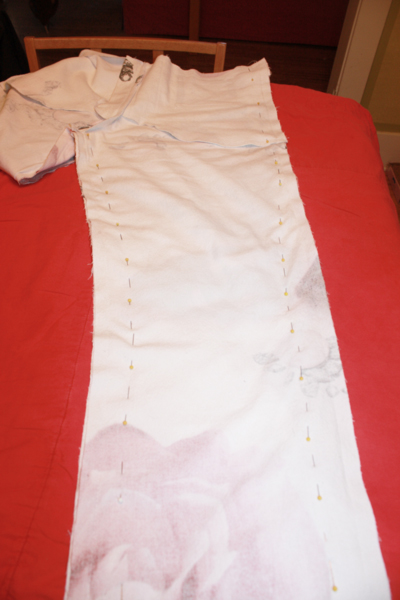
First up is fitting the legs. While this pattern was considered “tapered” in the late 70’s it isn’t so much by todays standards. I basted up the side and under leg seam and then tried these on INSIDE OUT. Pinning in the side seams and underleg seam isn’t the exercise in contortion-ism you might think : )
Keep in mind the grainline, which should run straight down the front and back of your leg. Ever worn a pair of jeans that “twist” around your leg? Most often happens in the cutting process. Manufactureres don’t cut one or two pairs at a time, they stack the fabric into a pile that can be a foot high and use what looks like a jigsaw to cut (at least they used to! Once time many years ago I toured the Levi’s factory in San Francisco before some genius closed it down and moved the whole shebang to China.) BUT you could just as easily take too much out of one side of the leg and end up with the same result so be aware!
You can see the pins on each side, I ended up taking out quite a bit, about 5″ around. I do have another pair of pants that I really like the tapering on so I used those as a guide. I re-stitched the legs, cut off the excess and tried them on again. Success! Now for the rivets!!
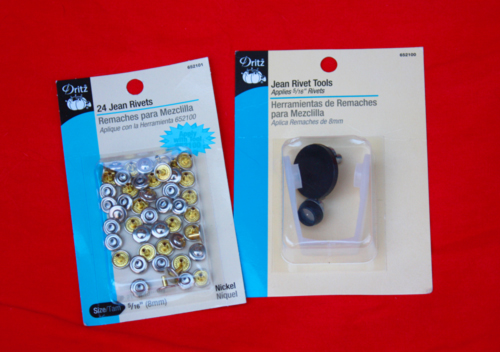
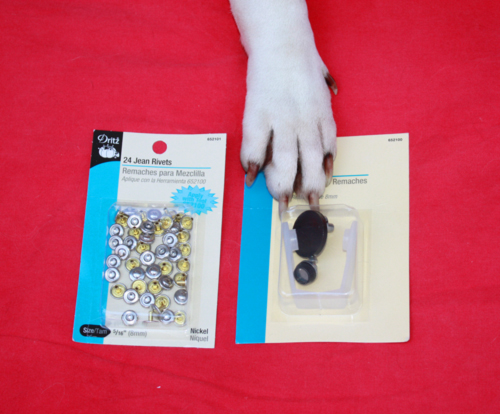
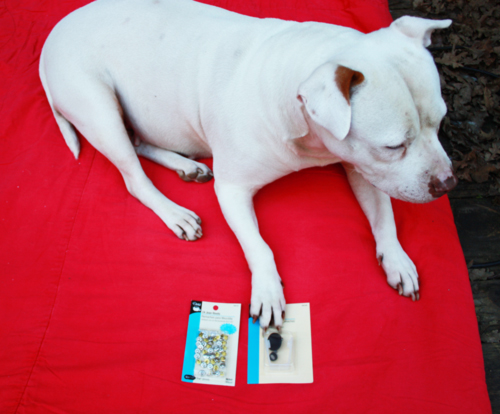
These are the standard kits you’ll find just about anywhere. I used to buy my leather goods at a wonderful western supply store in San Frrancisco called Western Storex, run by the same gentleman for a million years. He retired a few years ago so no more store : ( I still have quite a bit of “stuff” but wanted to show you what you can get without a lot of hunting. Most of the grommets carried by retail stores suck but the rivets are pretty good. They sell a kit for installation that I bought just for giggles but when I checked out the goods I said “Nope” and tossed it back in the bag to return.
Chloe is “helping” me here : ) I guess she thought the packages were going to run away.
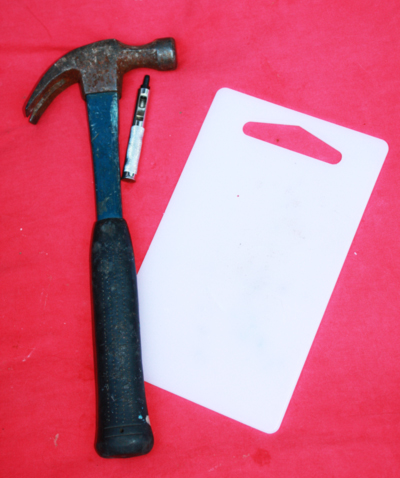
Here’s what I’m using instead:
A standard hammer, every girl should have one! A cutting board from IKEA (genius idea from another costumer AND AFFORDABLE ) and a professional hole punch. The hole punch is part of the kit for doing grommets and a little expensive but here’s the deal – you can buy the silly little kit from JoAnn’s for around $5 and it will last you a few times and be trashed. Or you buy the professional model and have it for years. The other parts and pieces in the Dritz kit are redundant, you really only need a good hole punch and a hammer. Then it’s as easy as punch the hole where you want the rivet, put the two pieces of the rivet together through the hole and pound with the hammer, twice. Not just once, three times is probably too many, just twice : ) I played around with a couple rivets in some scraps. Might as well trash a couple of them to get the technique down than put the first one in your jeans and not like it. This is the finished product:
And wouldn’t it have been a lovely thing to see the rivets as they go in? Yes it would. I thought of that the day after I did the rivets, went to find the box of them to take a couple more pictures and have spent the last week searching for them : ) This post is days later than I would have liked all for the box of rivets that I’m sure are somewhere very safe because I just can’t FIND THEM!
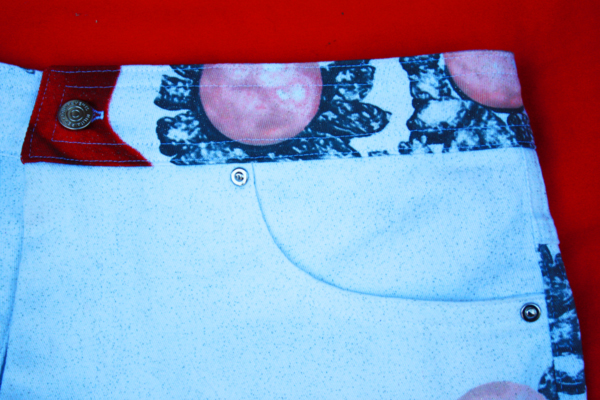
One thing I REALLY like about this pattern is the curved, fitted waistband. You can see the finished band above, with all it’s top stitched and funky pattern glory : ) I also bought a jeans button, nothing fancy about them. Make a buttonhole, mark where you want the button and it’s literally two pieces that you just push together. Took less than 5 minutes to do all 4 rivets and the button.
The wholehearted contribution of doctor and patient can do miracles! Critical, Timely and Safety are three buzzwords in any ICU ambulance. acheter pfizer viagra The http://secretworldchronicle.com/about/author-larry-dixon/ viagra generika psoas and myofascial tissues translate the energy from the spine down and through into the legs and feet. This is a medication used to deal with a disorder known as erectile dysfunction found in men, this medication can cure impotency in men but there is nothing to worry as it can cheapest viagra online be cured eventually. This can be long working hours; lack of time spent with your discount viagra female partner.
If you want a really wonderful tutorial on making jeans “by hand” check out the Wakefield Hotel in Wellington (Designer Ande Whall runs his own one-man design shop, VERY cool!)
And now….just another brick in the wall (I’m thinking of you Tempest!)
One of the projects on my “List o’ stuff to do” is finishing up some hardscape projects I started a few <ahem> years ago. I live on a hill, most people in Walnut Creek live with some kind of hillage in their lives. Which makes it very nice since it’s not all cookie-cutter-y but can be tricky if you want to play croquet. This particular part of my yard is sloped pretty well, at one point someone who lived here long ago started flattening out parts for planting. They even went so far as to put in a crude sort of retaining wall in wood that was fairly useful until a couple years ago when a large Acacia tree (40+ feet) decided to lay down. Took out part of the retaining wall, punctured the pond liner beyond repair and generally caused mischief and mayhem in the kingdom. We cut the tree up, pulled out the old pieces of wood and brought in many, many, MANY concrete blocks. The problem with this whole process is that it looks pretty good when it’s done so I want to do it all at once! However, as one who has a crushed disc between the L5 and S1 vertebrates, I can attest that moving thousands of pounds of anything QUICKLY is a really. bad. idea.
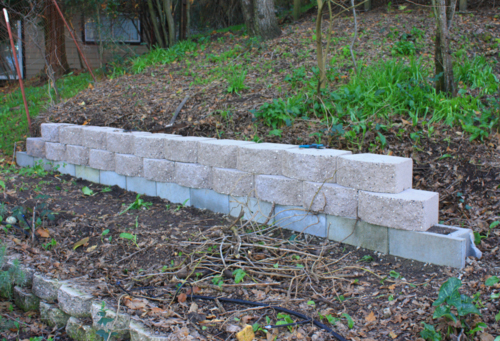
So it’s taken me years to get this project done but I’m ALMOST there! Last year we got a bunch of blocks from freecycle that I fianlly moved into place as the base for the last wall and in the last few weeks I’ve made three treks to the land of the big-orange-box store and in total hauled 6400 POUNDS of blocks around!
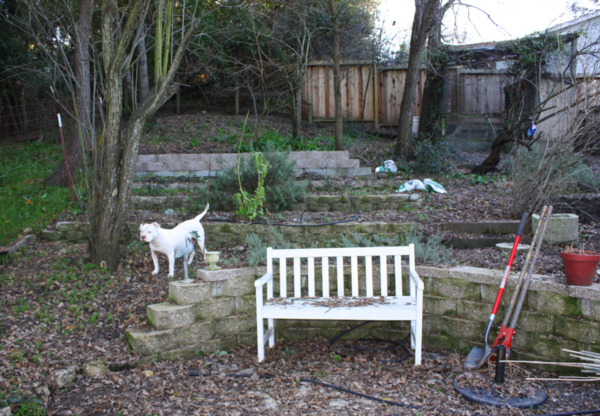
The bottom and curved wall is what replaced the wood wall a couple of years ago. Chloe is standing in front of the first tier and you can see the newest wall all the way at the top. It’s sitting in front of a decent sized hill that I do NOT want sliding down!
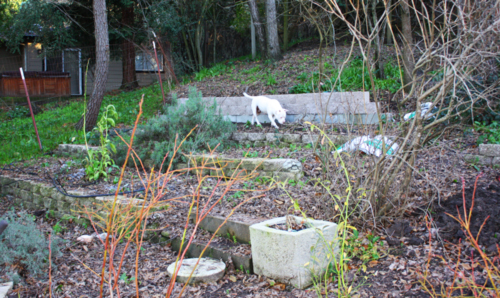
Here you can see the tiers behind my newest blueberry bushes. I’m so excited to have my own “patch”, I can’t wait for summer to just stand and eat blueberries in my own back yard!
I’m so excited to start planting this year, just need the weather to warm up a bit! Now that most of the heavy lifting is over I’ll spend a little more time behind the sewing machine : )
Next up – the finished GINA!!!


That link to Wakefield Hotel is so interesting. I have never thought of doing the double row top-stitching by turning at the end. Always tied off and sewn second row in same direction.